![]()
The Writers Voice
The World's
Favourite Literary Website
![]()
The Clive-A-Scope
by
Clive
![]()
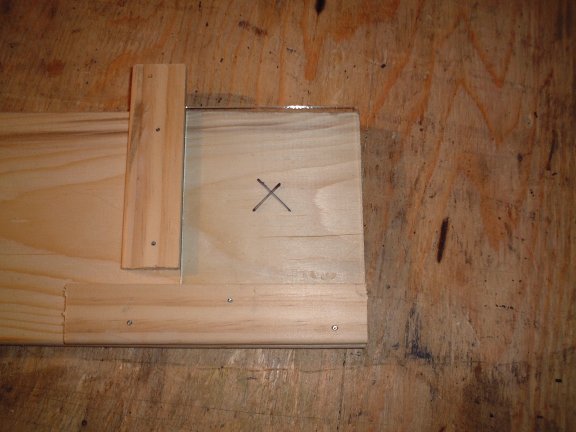
We must start with getting a perfectly centered hole in the
disk.
The objective here is to be able to cut many round disks with perfectly
aligned 1/8" holes so they can be double laminated over pressed
flowers. After a lot of hit and miss on centering holes on circles I
center them from squares then turn the square in to a circle using
the hole as the compass point so to speak. I start by setting the
strip cutter to 4"That will leave enough to get a clean break as none
of these will go on a grinder that would ruin it for doing it this way.
Belt sander but not a grinder.
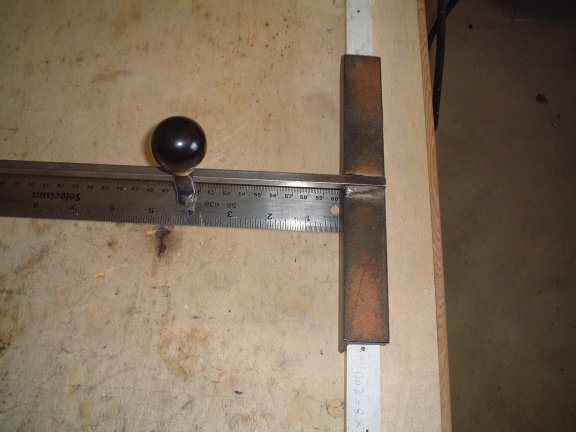
For a 3-1/4" I cut the square out of a 4" strip.
![]()
The strip cutter will cut a 4" strip over and over and be very
exact.
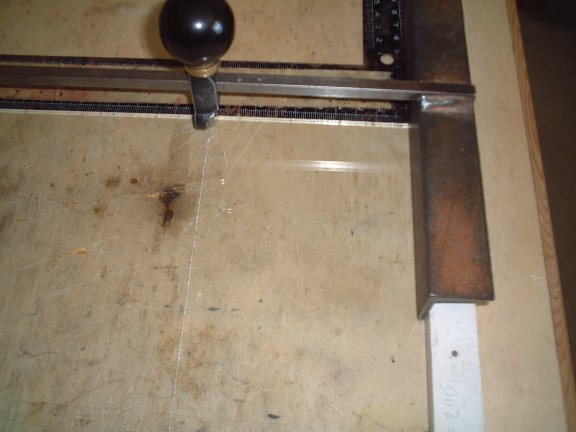
After cutting the strips I stand them at right angles and with the
same setting of 4" I cut the strip in to squares, I use the small square
to get good square-ness...
![]()
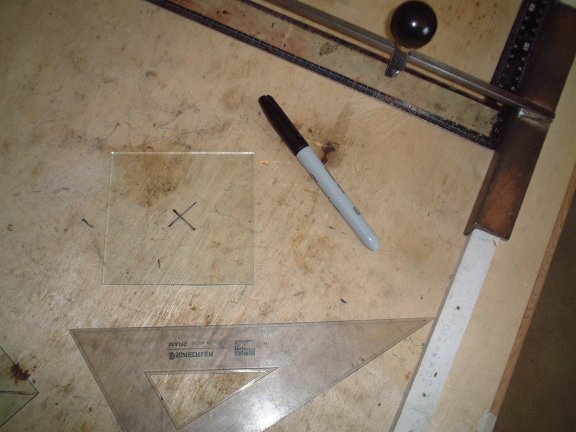
I locate the center by connecting the points.
![]()
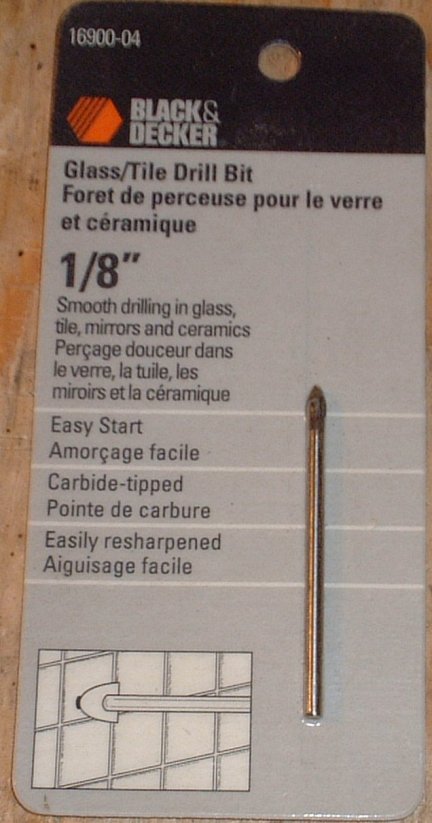
A basic 1/8" bit from the corner hardware store or the big box
store
if you must- the reason I use this size is that it is the right size
for the 1/8" copper tubing that makes up the axel of the scope,
and there is rubber vacuum hose that fits tight over this tubing that
I use to hold the disks on but that will be in a later tutorial.
![]()
Ok here is a simple jig that can be adjusted to center the square.
![]()
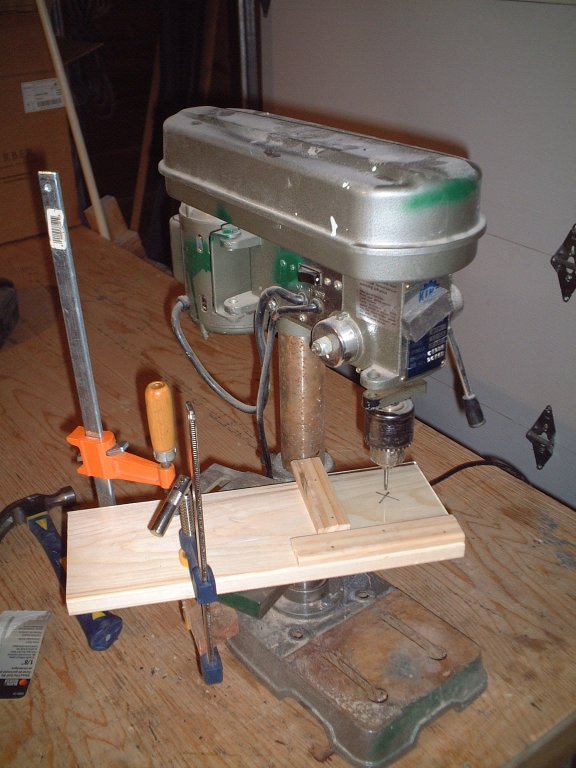
Here is my drill press with jig and bit in place. Normally if
cutting several
hundred holes you would have a hole in the jig go all the way through
the wood at 1/8" and then on the other side you would fashion some way
to get the turpentine to run in to a small dish. I know that water is a
simple and less smelly but if you are doing a lot of holes you need better
cooling as in a solution that has a rapid rate of evaporation that causes
cooling - right - like the latent heat of evaporation that takes BTU-s with
the evaporation.
![]()
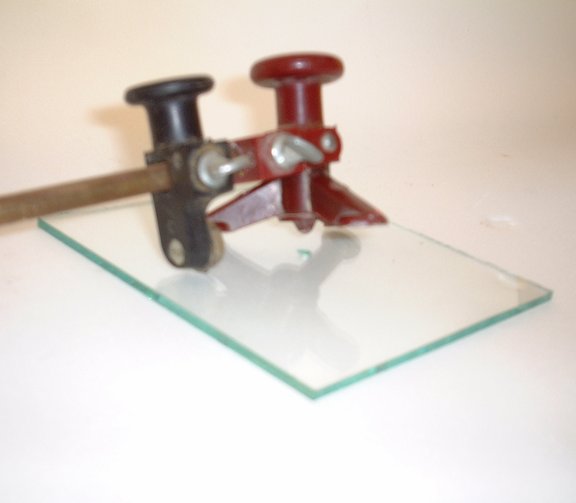
Sorry for the rotten picture but you can see here that the
little knobby
in the center of the circle cutter will fit in to the hole and hence become
the center point for the cutter to travel around.
![]()
After scoring the glass I turn it upside down and press with
my thumb till
it gets sore then a small piece of wood on the back side of the score.
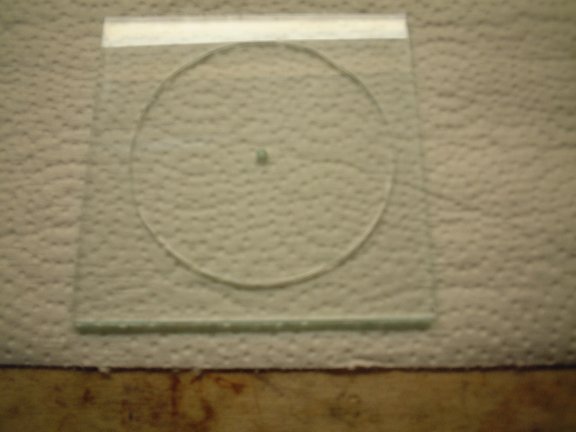
![]()
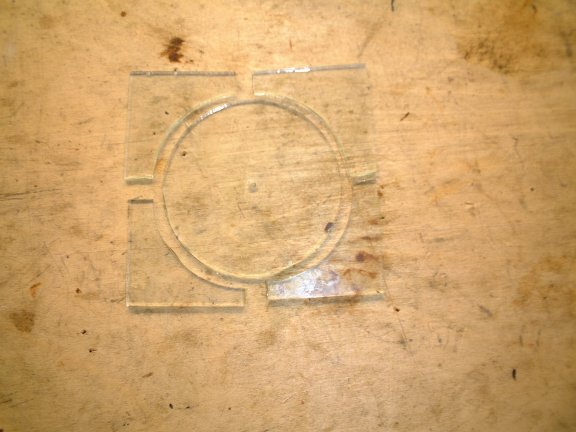
I make four score lines radiating out from the circle to the
edge of
the square. A very very light tap will allow the boarder to fall away
from the main body of the cut - the circle.
On to the sanding not grinding. Believe it or not I have used a basic
wood sander for this purpose but not with water - i use a mix of
turpentine and 3 in one but any oil will do to sand. I tape a piece
of thick corrugated cardboard under the sanding belt where I will be
making contact to the belt with the glass.
Return to The Photo Gallery and Tutorials
![]()
Critique this work
![]()
Click on the book to leave a comment about this work
![]()